DIY Pin Board for Small Spaces That Actually Looks Good
Your kitchen counter is drowning in mail and to-dos, and you need a quick win. A DIY pin board fixes the clutter, adds texture, and costs less than another trip to the container store. This guide walks you through sizing, materials, and mounting so your mainKeyword feels intentional, not like a dorm leftover. The steps take an afternoon, and you can tailor the finish to match your trim. Why let scraps pile up when they could become a pin board?
Highlights Worth Your Time
- Pick the right backer and fabric so pins hold tight.
- Cut clean edges and fold corners that stay flat.
- Mount securely without tearing drywall.
- Style it so it feels built-in, not temporary.
Plan Your mainKeyword
Measure the wall and sketch the footprint before you shop. Think about sightlines from the room’s entrance. Treat it like setting a lineup before a game, making sure every position fits. A single sheet of insulation board or cork tile works as the core. One cork tile can change a wall.
Use high-density cork or foam board at least half an inch thick so pins do not wiggle loose.
Materials That Hold Up
Grab cork tiles or a foam insulation board, cotton or linen fabric, spray adhesive, painter’s tape, a staple gun, and picture-hanging strips or screws with anchors. I favor medium-weight linen because it takes staples without fraying. Think of fabric like icing on a cake; thin fabric shows every seam.
Build the Frame
- Cut the board to size with a sharp utility knife and straightedge.
- Lay fabric face down, center the board, and spray adhesive on one side.
- Wrap fabric, pulling gently, and staple the back edges. Fold corners like hospital corners for a clean face.
- Add a simple wood trim if you want a gallery finish (it hides raw edges).
Mounting the mainKeyword Safely
Test placement with painter’s tape first. For renters, heavy-duty picture strips spread the load and avoid holes. Owners can drive two screws into studs for a permanent hold. And if you must use anchors, match them to the board’s weight.
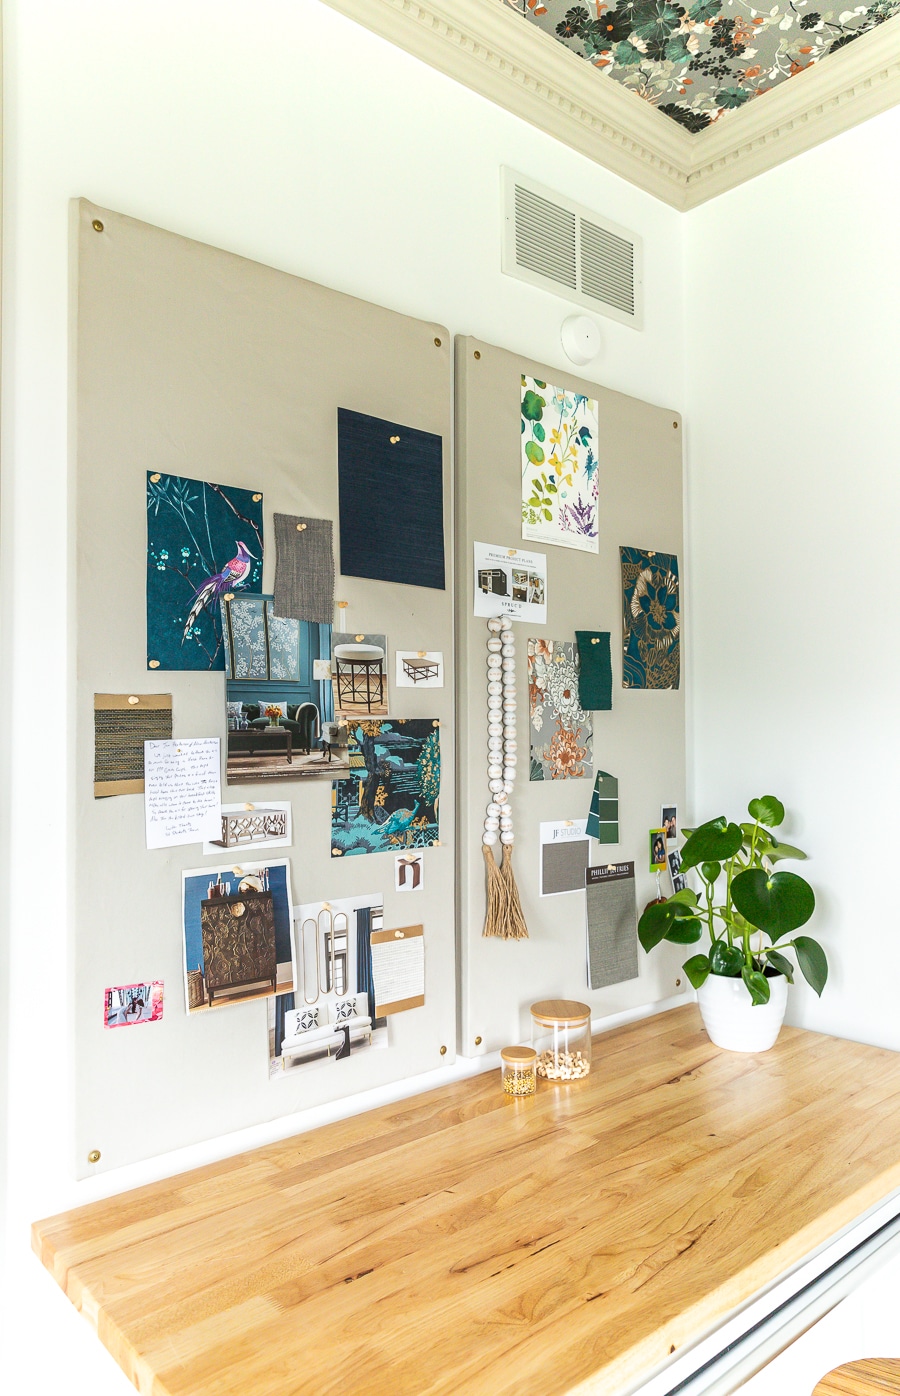
Style and Use
Mix in small clips for photos, use matching pins for a clean grid, and rotate items weekly so the board stays purposeful. Treat it like mise en place in a kitchen: everything you need is visible, nothing extra lingers.
Keep It Fresh
Swap fabric seasonally, refresh pins, and patch dents with a light sanding on cork if it compresses. Does the board still earn its wall space? If not, trim the footprint or move it to a busier zone.
Next Moves
Take photos of your finished board for reference, then build a second smaller one near your desk. You already own the skills; now put them to work.