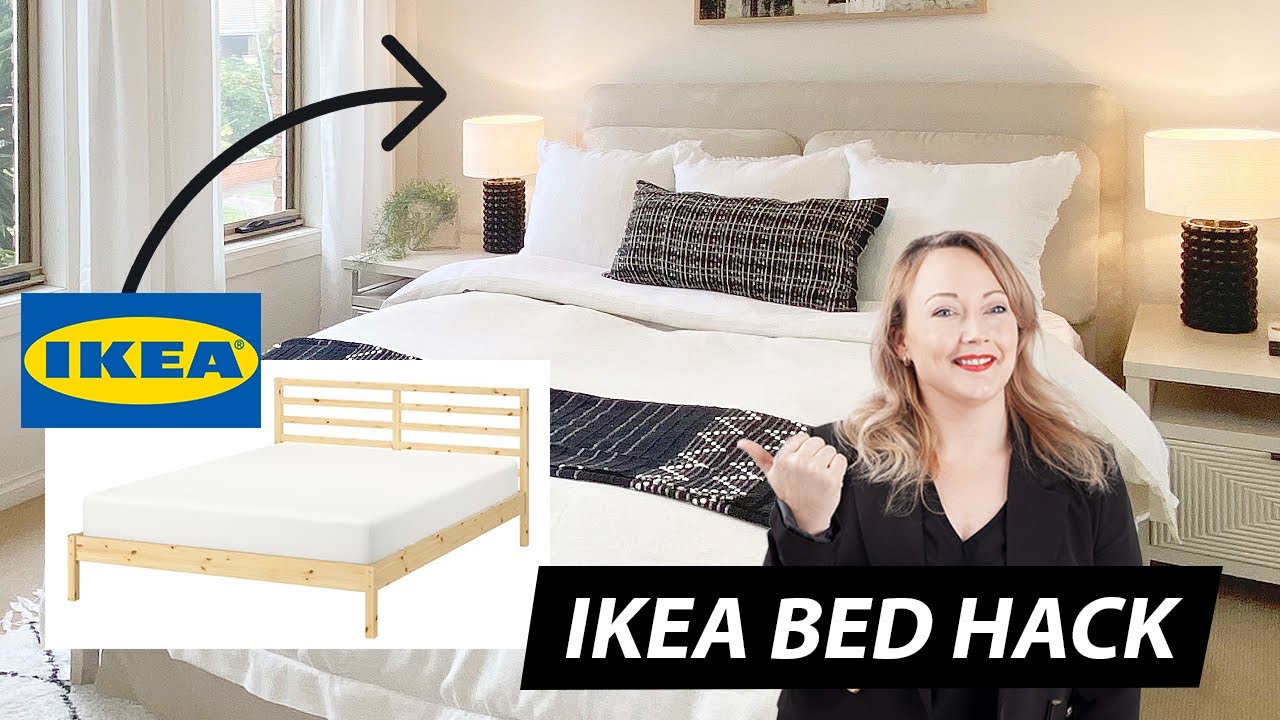
Reupholstered IKEA Headboard Hack for a $300 Bedroom Upgrade
A reupholstered IKEA headboard hack can do more for a bedroom than a full furniture swap. It gives you height, softness, and a finished focal point without the price of a custom bed. Apartment Therapy’s bedroom redo is a good reminder that a plain frame can look custom once you choose the right fabric and proportions. If your room feels close but not quite there, this is the kind of project that closes the gap fast. And it does not need a giant budget or a workshop full of tools. Why spend more than you have to when a simple frame, batting, and upholstery fabric can change the whole read of the space?
Why the reupholstered IKEA headboard hack works
- It changes scale fast: A taller, padded headboard makes the bed look intentional.
- It softens hard lines: Fabric and batting calm down a room with too much wood, metal, or sharp edges.
- It keeps spending focused: You put money into the part you see every day.
- It is easy to tune: Fabric choice, padding, and trim shape the final style without changing the whole bed.
What you need for a reupholstered IKEA headboard hack
Start with a simple IKEA headboard or a basic plywood backing. Keep the shape clean. Curves and deep channels raise the difficulty fast. For most bedrooms, a straight silhouette works best because it gives you a crisp edge against bedding and wall color.
Core materials
- Headboard base or plywood panel
- High-density foam or batting
- Upholstery fabric
- Staple gun and staples
- Spray adhesive or fabric glue
- Measuring tape, scissors, and screwdriver
Tools that make the job easier
Have a hand stapler or electric stapler if you are covering a larger piece. A straightedge helps with clean cuts. And if you are adding a mount, level it before you cover the back. One crooked line will haunt you every time you make the bed.
How to build the reupholstered IKEA headboard hack
- Measure the headboard and decide how much padding you want.
- Cut foam or batting so it wraps the front and edges cleanly.
- Center the fabric face down, then pull it snug over the back.
- Staple opposite sides first so the tension stays even.
- Trim excess fabric and check the front for wrinkles or pulled spots.
- Mount the finished piece and test it with pillows and bedding.
Keep the fabric taut, but not stretched so hard that the weave distorts. That balance is what separates a polished result from a rushed one.
It’s the kind of project that changes how the whole room reads.
Design choices that make it look custom
The best versions of this project feel restrained. They do not scream DIY. They look like someone edited the room with a steady hand.
Choose fabric with enough structure to hold a clean line. Linen blends, boucle, and performance upholstery fabrics work well because they drape neatly and resist looking flimsy. A rich neutral keeps the room flexible, while a saturated color can become the anchor if the rest of the bedroom stays quiet.
The trick is not to add more detail. It is to make the right details bigger and cleaner.
If you want a more tailored finish, add piping or a narrow trim. If you want softer edges, wrap the corners carefully and keep the seam lines hidden in back. Either way, match the headboard height to the wall. Too short and it disappears. Too tall and it starts fighting the room.
Budget breakdown and where to save
A project like this can stay near the $300 mark if you are selective. The base and hardware do not need to be the expensive part. Put the money into the fabric and foam, because those are the pieces you actually see and touch.
- Save on: the frame, if you can repurpose an existing IKEA piece.
- Spend on: upholstery fabric with enough weight to sit flat.
- Spend on: foam or batting that gives the front a fuller profile.
- Save on: decorative extras unless the room really needs them.
Think of the budget like plating food. The plate matters, but the presentation lands when the main element is right. Here, that main element is the headboard surface itself.
What I would copy from this look
Start with a neutral fabric, clean lines, and a shape that fits the bed instead of competing with it. Add texture through bedding and art, not through the headboard alone. That keeps the room calm and makes the furniture read as finished.
Before you buy supplies, stand back and ask one blunt question. What is the room missing, exactly? If the answer is height, softness, and a better focal point, the reupholstered IKEA headboard hack is probably the right move. It is a small project with a big visual return, and that is rare enough to be worth your Saturday.